Why plan event print from the floor plan?
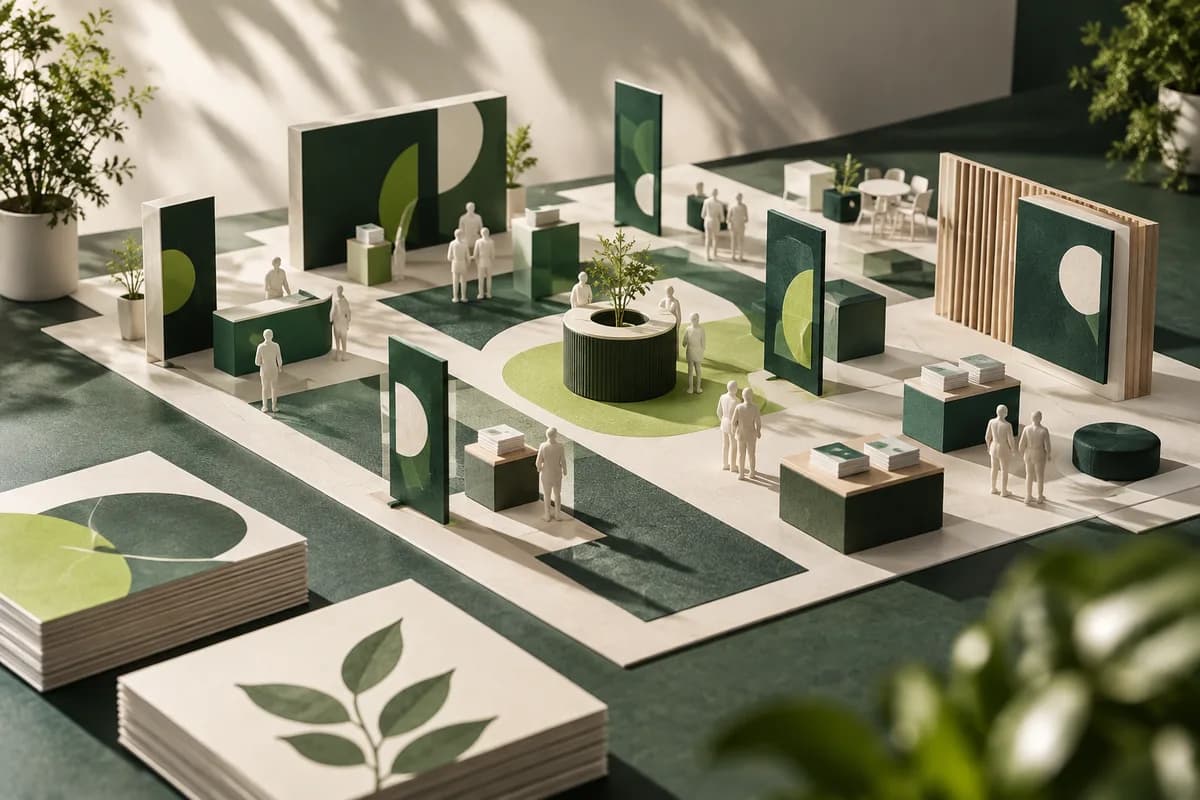
Designing each item separately produces a banner, a flyer and a card that all repeat the same dense message. The floor plan shows what visitors actually experience: where they enter, which aisle leads past you, what blocks the view and how close they come before deciding to stop.
Ask the organizer for the plan with your stand location, dimensions, ceiling or height limits and the position of pillars, doors and neighboring stands. Walk the route on paper. Note where a visitor first gets a clear line of sight to your space and how far away that point is. That distance sets the size of your main sign, which in turn shapes every other decision.
What does each printed piece need to do?
Give every format a single job. A distant sign should make the business recognizable and relevant in a couple of seconds. A tabletop sign near the front edge can carry the offer or the question you want people to ask. A handout gives detail to someone who has already shown interest. A business card preserves one contact route for a personal follow up.
| Moment on the route | Typical distance | Printed piece | Its one job |
|---|---|---|---|
| First line of sight | 20 to 50 ft | Banner or large sign | Name and relevance |
| Approaching the stand | 6 to 15 ft | Poster or tabletop sign | Offer or key question |
| Conversation | Arm's length | Flyer or rack card | Detail after interest |
| Leaving | In hand | Card or insert | One route to follow up |
When a piece tries to do two jobs, it usually does neither well. Put the long explanation on the handout, not the banner.
How big should event sign text be?
A useful benchmark comes from the ADA Standards for permanent signs. For visual characters mounted between 40 and 70 inches above the floor, the minimum height is 5/8 inch for viewing distances under 6 feet, plus 1/8 inch for every foot beyond 6. At 20 feet that works out to 2.375 inches. For signs mounted above 70 inches and up to 10 feet high, the minimum starts at 2 inches under 15 feet and adds 1/8 inch per foot beyond that.
The guide exempts temporary signs posted for seven days or less, so most event signs fall outside those rules, but the arithmetic is still a sound floor for legibility. Treat it as a minimum, use high contrast, choose a non glare finish where lighting is strong and keep headlines to a few words. A retractable banner placed at the back of the stand is seen from the aisle, so its top third carries the name and the lower third is often hidden by the table and people.
How many handouts and cards should you print?
Estimate from expected conversations, not total attendance. A show with 5,000 visitors does not mean 5,000 people stop at your stand. Build the estimate from your own numbers: staff on the stand, hours open and a realistic count of conversations per hour.
- Staff: 2 people
- Hours open: 6 per day for 2 days
- Conversations: 8 per person per hour as a planning assumption
- Estimated conversations: 2 x 12 x 8 = 192
If one handout goes to each conversation and you add a reserve of 20 percent, the working quantity is about 230. Label that reserve as your own choice, not a rule, and record what is left afterward so the next estimate uses real data. The event print planner and the print quantity estimator both help you keep these assumptions visible.
What logistics should you confirm with the venue?
Confirm the practical details early, because they change what you print.
- Stand dimensions, height limits and whether hanging signs are allowed.
- Delivery address, receiving dates and any handling fees.
- Rules on adhesives, freestanding displays and fire rated materials.
- Power, lighting and whether the stand has a back wall.
- Setup and teardown times.
Leave enough time for your own proof review before the production deadline. Standard delivery combines 2 to 4 business days of production after artwork approval with 5 to 8 business days in transit, and large format items can ship separately from smaller pieces, so work backward from the receiving date rather than the show date.
How do you connect print to follow up?
Every printed piece should point to one next action that works on the day. If you use a QR code, test it on two phones at the distance people will actually stand, and send it to a page built for the event rather than a generic home page. Tracking links from a campaign link builder let you see which piece drove the visit.
Give staff the same short script for explaining the next step, and make sure the page, the handout and the sign all describe the offer in the same words.
What should you review after the event?
Count unused material by type and note what was damaged in transit or setup. Ask staff which questions people asked repeatedly, because those questions show what the sign or handout failed to answer. Compare handouts given with conversations logged. Keep these notes with the approved artwork so the next event kit starts from evidence, not memory. The guide to local print campaigns uses the same review habit for counters and storefronts.
What does an event print checklist look like?
- Trace the visitor route on the floor plan.
- Measure the first line of sight distance and size the main sign from it.
- Assign one job to each printed piece.
- Estimate quantities from conversations, with a stated reserve.
- Confirm venue rules, delivery dates and setup times.
- Test every code and landing page before printing.
- Count leftovers and record staff feedback afterward.
Frequently asked questions
What print materials do you need for an event?
Most stands need one large sign that is readable from the aisle, one smaller sign or tabletop display near the front with the offer, a handout for people who want detail and a card or small insert for follow up. Start from the floor plan and the visitor route, then add items only when a specific moment on that route needs one.
How far in advance should you order event printing?
Work backward from the venue receiving date, not the event date. Allow time for design, your own proof review, production and shipping. Standard delivery combines 2 to 4 business days of production after approval with 5 to 8 business days in transit, so a few weeks is a sensible minimum for a first order. Confirm the organizer's delivery window before you approve files.
How big should the text be on an event banner?
Use viewing distance to set a minimum. The ADA benchmark for signs mounted between 40 and 70 inches starts at 5/8 inch and adds 1/8 inch per foot beyond 6 feet, which gives about 2.4 inches at 20 feet. For a banner meant to be read across a hall, the business name should be much larger than that minimum.
How do you estimate how many flyers to bring to a trade show?
Multiply staff on the stand by hours open and by a realistic number of conversations per hour, then add a reserve you choose, such as 10 or 20 percent. Total attendance is not a forecast of conversations. After the event, count what is left so the next estimate is based on your own results.
Sources & specification notes
The references below support the relevant technical or product details in this guide. Examples and checklists are not claims of practical testing or universal supplier requirements. Confirm the current specifications for your chosen product before production.
- U.S. Access Board: Guide to the ADA Standards, Chapter 7 Signs ↗
Table 703.5.5 sets minimum visual character heights by mounting height and viewing distance and requires a non glare finish with dark on light or light on dark contrast. The guide exempts temporary signs posted for seven days or less, so it is used here only as a legibility benchmark.
- U.S. Government Publishing Office: GPO Publishing Guidelines ↗
Asks for bleed on every file that images off the final page with 1/8 inch as a general minimum, 300 ppi scans at a one to one output size, no rules thinner than 0.5 point and PDF files with embedded fonts.