The two kinds of number in a product specification
Every promotional product page carries dimensions, and they fall into two very different groups.
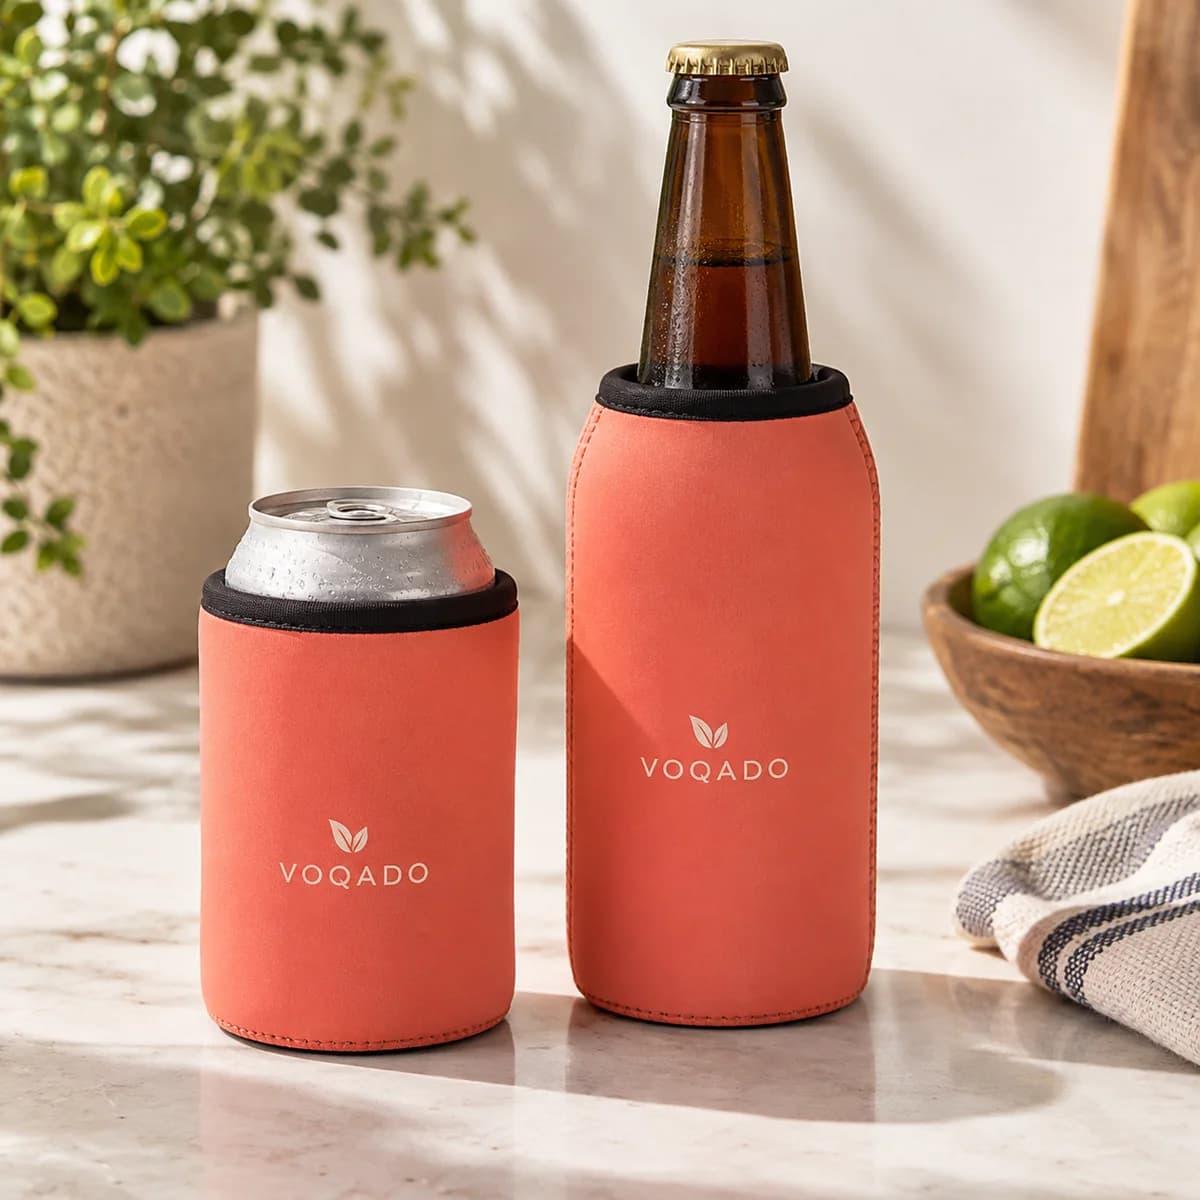
The first group describes the object. Our tote bags state 13.4 inches high by 13.4 wide with a 2.4 inch depth. Our cutting boards state 11.125 by 7.75 by 0.125 inches. Our can and bottle coolers state 3.87 inches high by 2.75 in diameter. Every one of those is a measurement of the thing, and none of them is a boundary your artwork may fill.
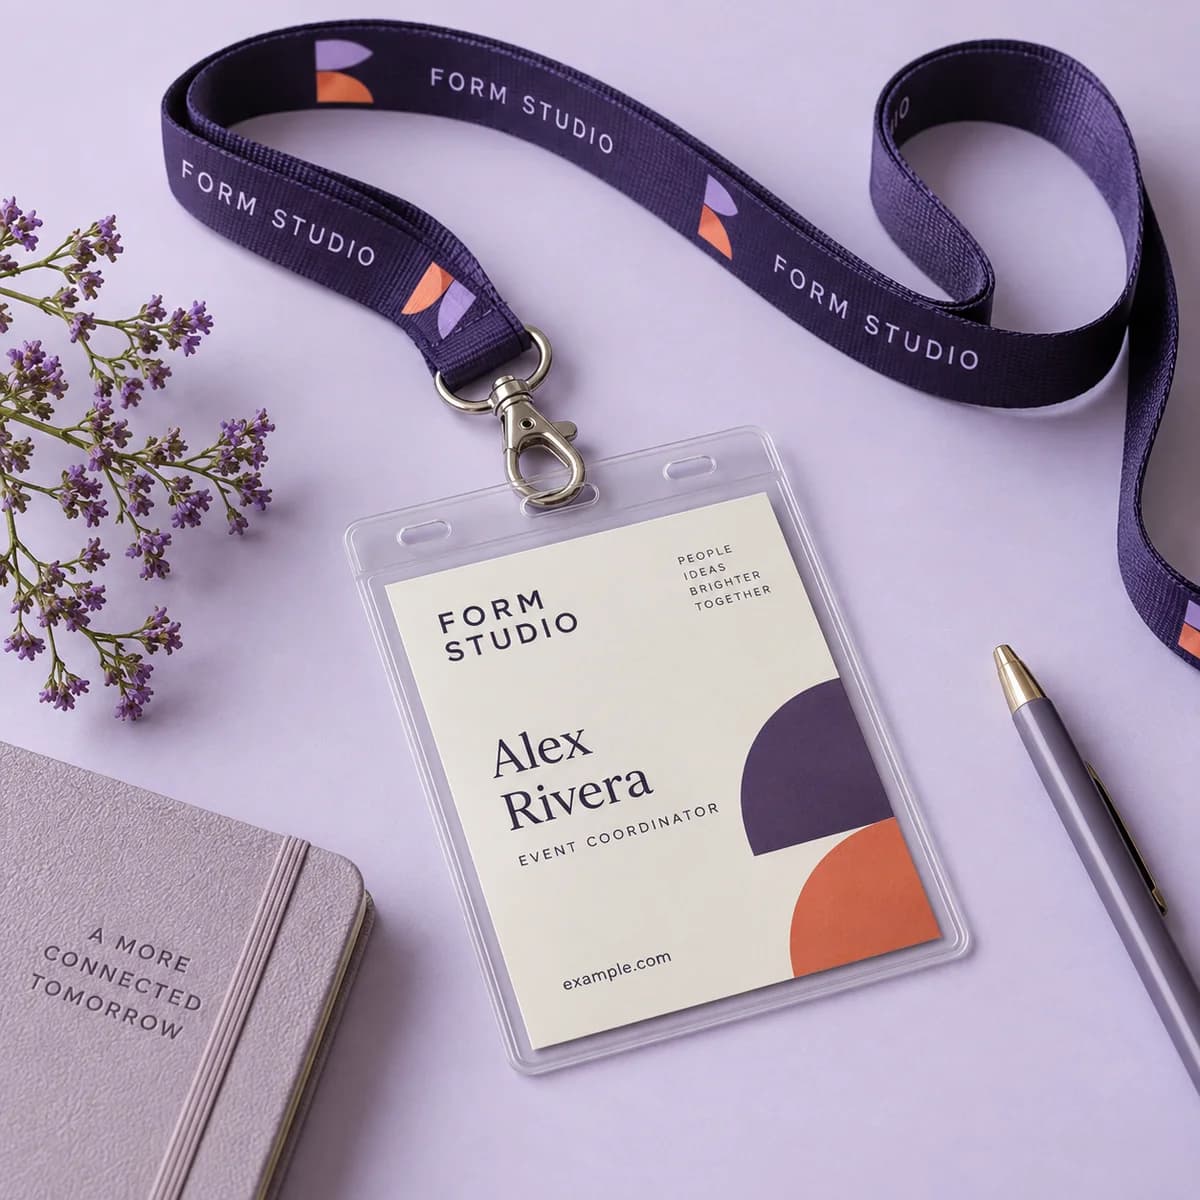
The second group describes a printable area, and it is much rarer. Our badge holders and lanyards state a print area of 0.75 by 6 inches. Our magnetic clips state 0.5 by 1.5 inches. Those are the numbers to design to.
The skill is telling them apart, and the tell is simple: a print area is labeled as one. If a page gives you height, width and depth, it is describing an object.
Why we draw no trim line on these products
Our design canvas opens the same flat rectangle for every product, and for structural goods it deliberately draws no trim, bleed or safe area.
The reason is that we hold no imprint sheet for them. The size recorded against most products in the catalog is a layout default rather than a printed size, and the dimensions in the specifications describe the object. A drawn line has the full visual authority of a real trim. Drawing one over a number that never described a printable rectangle would be a false statement in the shape of a specification, which is precisely the failure this approach exists to prevent.
So the canvas says what it is: a visual concept, not the printed surface. A flat rectangle cannot show how artwork sits on a curved vessel, a sewn panel or an assembled object, and it does not pretend to. The two honest routes to a correct file are the product's own template, which we send, or your print ready artwork at the largest size you want it, with placement confirmed by our team before production.
Estimating a ceiling for yourself
You can still reason usefully, provided you treat the answer as a maximum rather than a target.
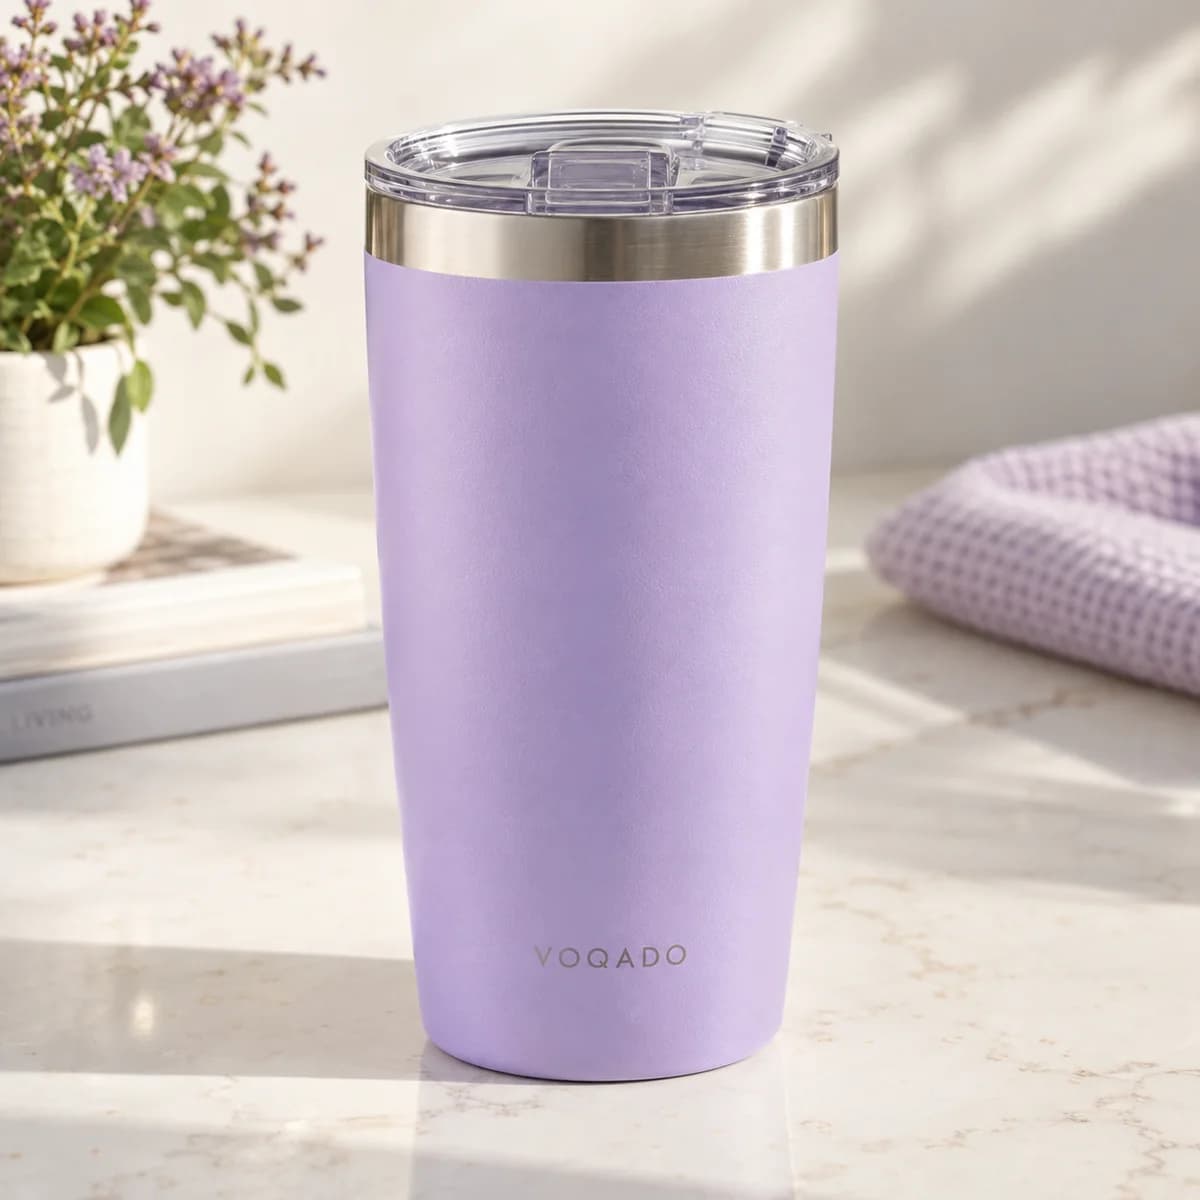
For a cylinder, circumference is pi multiplied by the diameter. A 2.75 inch can cooler gives about 8.6 inches around. A 4 inch diameter travel mug gives about 12.6 inches. A 3 inch canteen gives about 9.4 inches.
Then subtract, in this order: any handle, which divides rather than reduces; a seam allowance if the artwork wraps; the shoulder curve at the top and the taper at the base; the lid or cap zone; and the outer fifth of the visible arc on each side, because a cylinder shows slightly less than half of itself and foreshortens what it does show.
For a sewn bag, subtract the seam, the pocket, the strap anchors and the gusset. For an assembled object, subtract whatever the frame, mount or edge covers once it is built.
Readability is the constraint behind the constraint
Even when a mark fits, it has to be legible at the distance it is seen. The ADA guidance for visual characters on signs is a useful benchmark here: characters need a minimum height of 5 eighths of an inch for viewing under 6 feet, plus an eighth of an inch for every additional foot of viewing distance. Promotional products are not bound by that rule, but the arithmetic is instructive.
A lanyard is read at about three feet, so small type is fine. A tote bag crossing a room is read at fifteen feet, where that benchmark suggests capital letters of roughly 1.75 inches as a floor for key words. Most tote bag designs fail not because the panel is small but because the type is.
That is why a promotional mark should hold one idea. Fewer, larger elements beat a complete lockup that nobody can read.
What to send instead of a guess
- The product name exactly as listed.
- Whether the mark goes on one side, both sides or wraps.
- Which panel or face carries the main mark.
- The decoration method you want.
- Print ready artwork at the largest size you want it, in vector where possible.
- A request for the product template if the layout is tight.
Sending a file sized to the product's catalog dimensions is the one thing that guarantees rework, because that number was never a printable area.
Imprint area checklist
- Check whether the page states a print area, and design to it if so.
- Never treat height, width and depth as an imprint boundary.
- Estimate cylinders from circumference, then subtract hardware and seams.
- Subtract seams, pockets and straps on sewn goods.
- Size type from the distance the mark will be read.
- Reduce the design to one idea before worrying about the area.
- Ask for the template rather than inferring a size.
Frequently asked questions
How do you find the imprint area of a promotional product?
Check whether the product states one. Our badge holders and lanyards state 0.75 by 6 inches and our magnetic clips state 0.5 by 1.5 inches. Where no print area is published we hold no imprint sheet, so ask us for that product's template rather than inferring a size from its height, width and depth.
Is a tote bag's size its print area?
No. Our tote bags state 13.4 inches high by 13.4 wide with a 2.4 inch depth, which is a measurement of the bag. The printable panel is smaller once seams, straps and the gusset are accounted for. A bag is not a flat sheet, so the design canvas presents a visual concept rather than a measured panel.
Why does the design studio not show a safe area on merchandise?
Because drawing one would invent a specification. The size recorded against most products is a layout default and the written dimensions describe the object, so a trim line over those numbers would look authoritative without being true. The canvas states that it is a visual concept and points you to the product template instead.
How large should a logo be on a promotional item?
Size it from the distance it will be read. The ADA benchmark for visual characters on signs starts at 5 eighths of an inch for viewing under 6 feet and adds an eighth of an inch per additional foot. A tote bag read across a room needs far larger type than a lanyard read at arm's length, which usually means cutting elements rather than shrinking them.
Sources & specification notes
The references below support the relevant technical or product details in this guide. Examples and checklists are not claims of practical testing or universal supplier requirements. Confirm the current specifications for your chosen product before production.
- U.S. Access Board: Guide to the ADA Standards, chapter 7 signs ↗
Visual characters require a minimum height of 5 eighths of an inch for viewing under 6 feet, plus an eighth of an inch per additional foot, used here as a legibility benchmark.
- PPAI: New PPAI Research Shows Why Consumers Take And Keep Promo Products ↗
Research on retention of branded items, supporting the argument that a clear single mark on a useful object outperforms a dense lockup.