What is bleed on a business card?
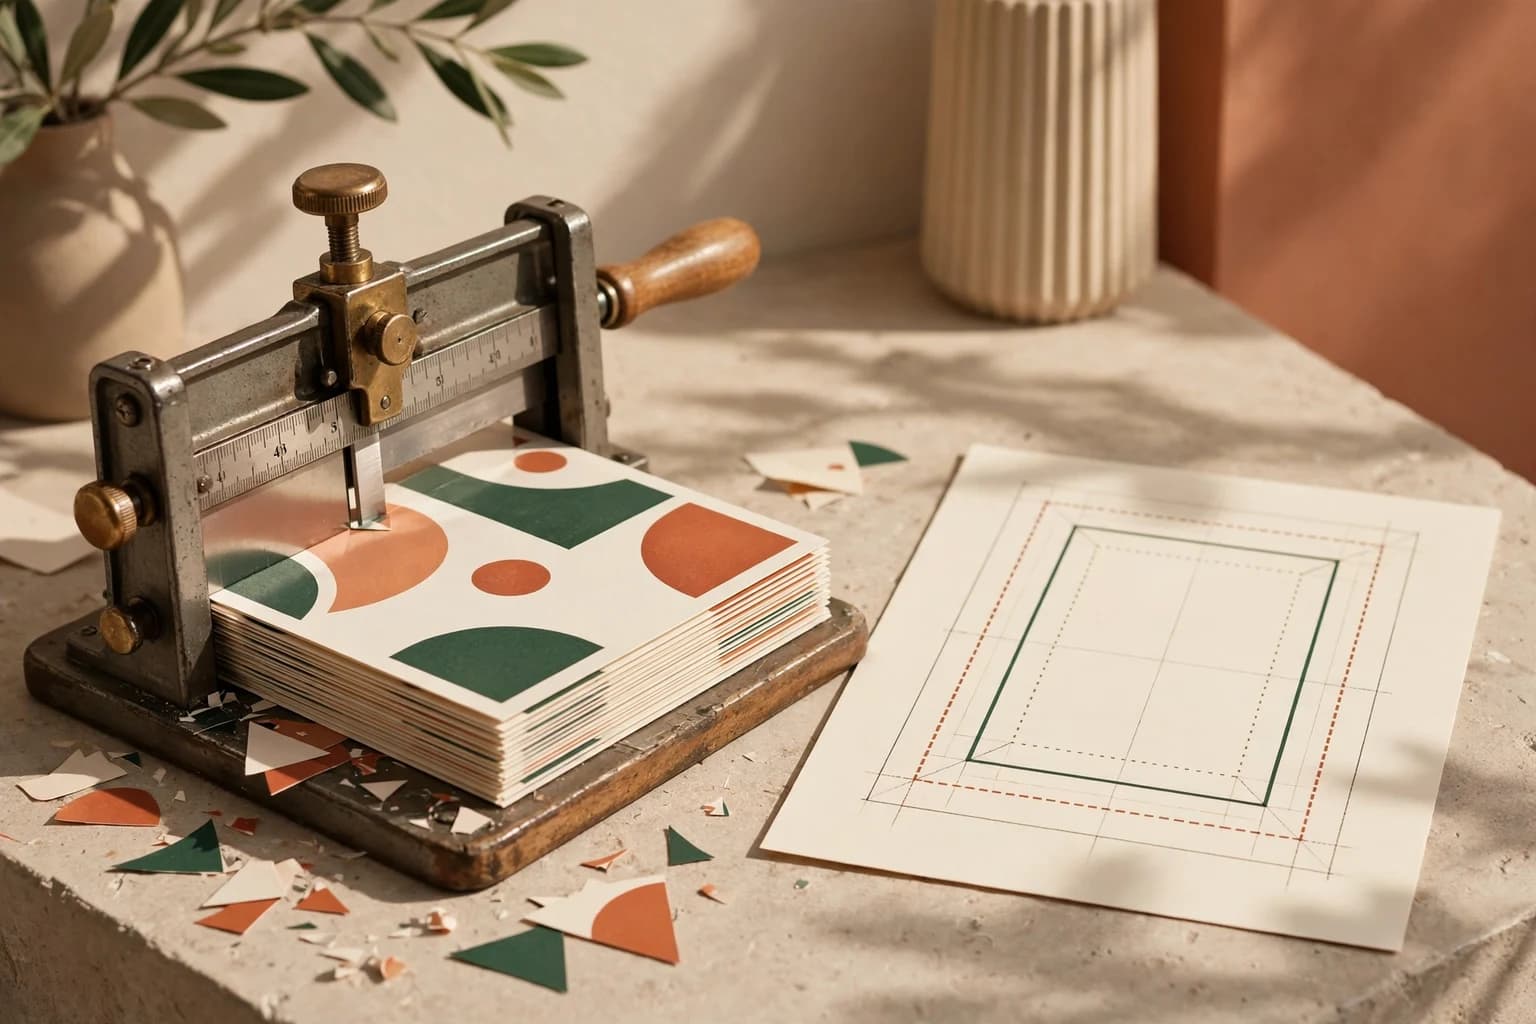
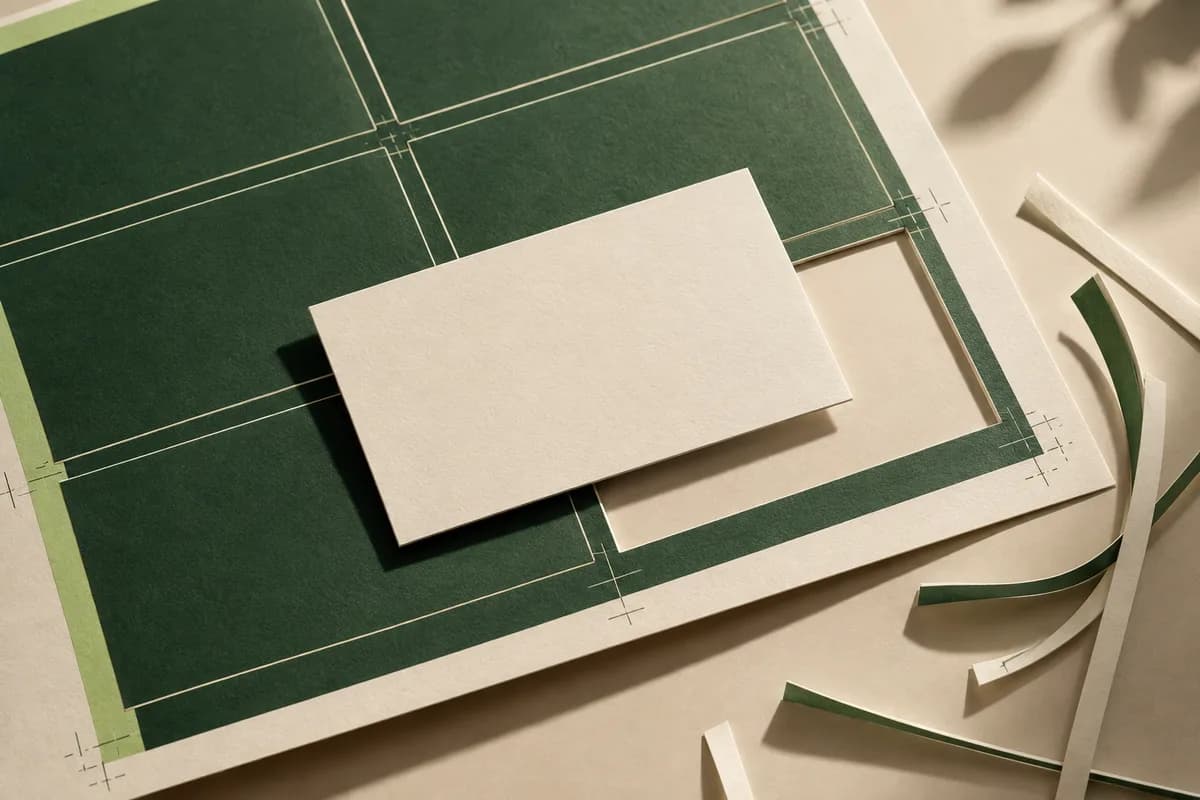
Business cards are printed several at a time on a larger sheet, then stacked and cut. The blade position can vary a tiny amount from one cut to the next, so an edge that stops exactly at the trim line risks showing a thin strip of bare paper. Bleed is the portion of the background that crosses that line on purpose. If the cut lands slightly outside or inside the intended edge, it still lands on printed color.
Every card template has three boundaries. The bleed edge is the outer limit of the artwork. The trim line is the finished size of the card. The safe area sits inside the trim and holds the name, contact details, logo and anything else that must survive the cut. If you want the background explained from first principles, start with what bleed is and why printers ask for it, then come back to the card specific numbers below.
How much bleed does a business card need?
The United States Government Publishing Office tells designers to allow 1/8 inch minimum for any bleed as a general rule, and 0.125 inch (roughly 3 mm) is the figure most card templates use. It is not universal, though. Some product profiles call for less. Voqado's standard 3.5 x 2 inch card profile uses 0.055 inch per side, which makes the full artwork 3.61 x 2.11 inches.
The allowance belongs to the product and the finishing line, not to the design software. Rounded corners, die cut shapes and thick or layered stocks can each use different geometry. Always download or open the template for the exact size, shape and paper you plan to order, and treat any number in a generic guide as a planning estimate until the printer confirms it.
What size should a business card file be with bleed?
The arithmetic is simple. Full width equals finished width plus two times the bleed, and full height equals finished height plus two times the bleed. The table shows common cases, with pixel sizes at 300 pixels per inch for photographic backgrounds.
| Card format | Trim size | Bleed per side | File size with bleed | Pixels at 300 ppi |
|---|---|---|---|---|
| US horizontal | 3.5 x 2 in | 0.125 in | 3.75 x 2.25 in | 1125 x 675 |
| US horizontal, Voqado profile | 3.5 x 2 in | 0.055 in | 3.61 x 2.11 in | 1083 x 633 |
| US vertical | 2 x 3.5 in | 0.125 in | 2.25 x 3.75 in | 675 x 1125 |
| Square | 2.5 x 2.5 in | 0.125 in | 2.75 x 2.75 in | 825 x 825 |
| European | 85 x 55 mm | 3 mm | 91 x 61 mm | about 1075 x 720 |
For any other size, the free bleed calculator does the same math in inches or millimeters and adds the pixel size. If you are building the background in a photo editor, the guide to business card size in pixels lists more resolutions and orientations.
Where is the safe area on a business card?
The safe area is an inset measured inward from the trim line. Many templates use 0.125 inch. The 0.055 inch profile in the table pairs its bleed with a 0.07 inch safe inset, which leaves a 3.36 x 1.86 inch area for essential content. Whatever the number, the whole object must sit inside it, not only its center point. Long email addresses, rotated text and small icons at the corners are the elements most often clipped.
Thin borders deserve special caution. A frame that runs close to the trim will show any variation in the cut, because one side ends up visibly thicker than the other. Either keep a border well inside the safe area or leave it out.
Why use the printer's template instead of a generic one?
A template that looks close is not the same template. Two cards can share a 3.5 x 2 inch trim yet differ in bleed, safe inset, corner radius or the orientation of the back. Borrowing a file from another supplier or an old order is the most common source of white edges and clipped text.
Check that the template matches four things before you design: trim size, orientation, corner style and printed sides. Keep the template guides on their own locked layer so they stay visible while you work and are easy to hide when you export. A guide is a design aid, not artwork, and it should never appear in the final file.
How do you extend a background into the bleed?
A flat color or a simple gradient can simply be drawn out to the bleed edge. A photograph needs real image content beyond the cut, so plan the crop with the full artwork size rather than the trim size. If the photo has nothing left beyond the subject, reposition it, choose a different crop or switch to a solid band of color at the edges.
Avoid stretching the last few pixels of an image outward. Stretched pixels form streaks that become visible when the cut drifts. Mirrored edges can work for textures but tend to look odd on faces, text or recognizable objects. Patterns should continue naturally rather than stopping at the trim line.
How do you check bleed in the exported PDF?
Open the final file outside your design app and confirm the page size equals the full artwork size, not the trim size. The PDF/X family of print standards, published as ISO 15930, requires the print and trim areas to be explicitly defined and places any BleedBox outside the TrimBox, and many print workflows read those boxes even when you did not choose a PDF/X preset. Look at every edge at high zoom to confirm the background reaches the page boundary.
Crop marks are a separate question. Add them only when the printer asks, because an upload system that expects an exact page size can reject or misplace a file with marks. When you are ready to export the card as a print PDF, work through the full handoff steps so fonts, images and color are checked at the same time as geometry. The same bleed logic applies to standard 3.5 x 2 inch cards and to every specialty shape, only the numbers change.
Business card bleed checklist
- Open the template for the exact product, size, corners and sides you plan to order.
- Set the document to the full artwork size or add the bleed in the document settings.
- Extend every edge background to the bleed line with real image content or flat color.
- Keep all text, logos and QR codes inside the safe area, including their full width.
- Hide or delete template guides before exporting.
- Confirm the exported page size equals trim plus two times the bleed.
- Add crop marks only if the printer requests them.
Frequently asked questions
What is the standard bleed for a business card?
Most business card templates use 0.125 inch, about 3 mm, on each side, which matches the 1/8 inch minimum the U.S. Government Publishing Office recommends as a general rule. Some printers use a smaller allowance for specific products, so the template for the exact card you order always wins over a generic number.
What size is a business card with bleed?
A standard 3.5 x 2 inch card with 0.125 inch bleed on every side measures 3.75 x 2.25 inches. At 300 pixels per inch that is 1125 x 675 pixels. With a smaller 0.055 inch allowance the full artwork is 3.61 x 2.11 inches. Add two times the bleed to both the width and the height of the trim.
Do I need bleed if my card has a white background?
If nothing touches the edge of the card, bleed has nothing to protect, but most printers still want the file at the full template size so it fits their layout. Keep the page at trim plus bleed and leave the extra area white. Any element meant to touch the edge, even a thin stripe, needs to extend into the bleed.
Should I add crop marks to my business card PDF?
Only when the printer asks for them. Many online upload systems expect the page to be exactly the trim size plus bleed and place the file automatically, so extra marks can shift or shrink the artwork. When a commercial printer does request marks, they sit outside the bleed area and should be offset so they never touch the artwork.
Sources & specification notes
The references below support the relevant technical or product details in this guide. Examples and checklists are not claims of practical testing or universal supplier requirements. Confirm the current specifications for your chosen product before production.
- U.S. Government Publishing Office: GPO Publishing Guidelines ↗
Recommends allowing 1/8 inch minimum for any bleed and supplying bleed in every file that images off the final printed page.
- Library of Congress: PDF/X format family (ISO 15930) ↗
Summarizes ISO 15930 PDF/X requirements, including explicitly defined print and trim areas and a BleedBox that sits outside the TrimBox when bleed is defined.