What does bleed mean in printing?
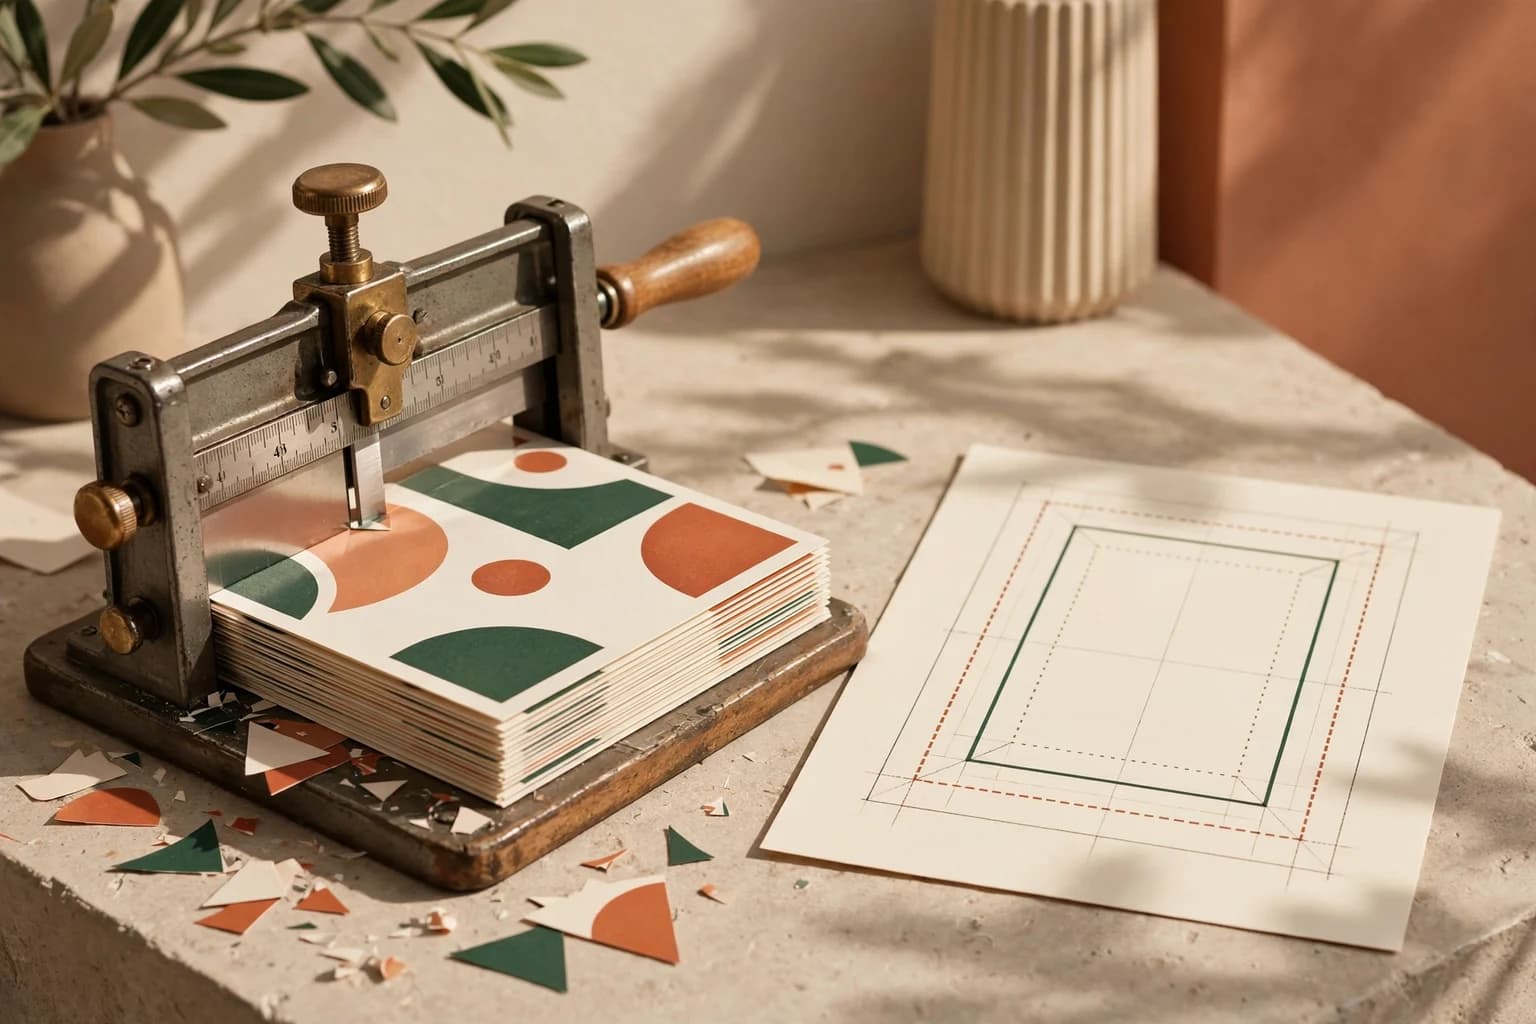
Commercial printers rarely print a business card or postcard on a sheet that is exactly its finished size. They print several pieces on a larger sheet, stack the sheets and cut them down. A cutter can shift a fraction of a millimeter from one pass to the next, and paper can move slightly as it runs through the press.
Bleed absorbs that movement. If your background stops exactly at the finished edge, any shift exposes a thin line of bare paper. If the background continues past the edge, the blade still lands on printed color. The U.S. Government Publishing Office asks for bleed on every file that images off the final page and recommends 1/8 inch, the same 0.125 inch, as a general minimum.
What is the difference between bleed, trim and safe area?
Every print template has three boundaries, and each one has a different job.
- Bleed edge: the outer edge of the file. Backgrounds, photos and color blocks that should touch the paper edge extend all the way here.
- Trim line: the finished size of the piece, where the blade is meant to cut. A 4 x 6 postcard trims to 4 x 6 inches.
- Safe area: a margin inside the trim, commonly 0.125 inch, where text, logos, phone numbers and QR codes stay so a small cutting shift never clips them.
The simplest rule is that color goes out and content stays in. A background belongs in the bleed. A web address never does.
How much bleed do you need for common print sizes?
Add twice the bleed to the width and twice to the height. With 0.125 inch on every side, the file grows by 0.25 inch in each direction. The table uses that allowance and 300 pixels per inch for the pixel sizes.
| Product | Trim size | File size with bleed | Pixels at 300 ppi |
|---|---|---|---|
| Business card | 3.5 x 2 in | 3.75 x 2.25 in | 1125 x 675 |
| Postcard | 4 x 6 in | 4.25 x 6.25 in | 1275 x 1875 |
| Postcard | 5 x 7 in | 5.25 x 7.25 in | 1575 x 2175 |
| Flyer | 8.5 x 11 in | 8.75 x 11.25 in | 2625 x 3375 |
| Poster | 18 x 24 in | 18.25 x 24.25 in | depends on viewing distance |
Treat these as starting points. Some products, such as rolled labels, die cut stickers and large banners, use different allowances, and the template for the exact product you order always wins over a generic number. For specific layouts, see the business card bleed template, the guide to postcard bleed setup and the notes on poster bleed and trim.
What happens if you print without bleed?
The most common result is a white sliver along one or more edges. It is most visible on dark or saturated backgrounds, where a hairline of bare paper looks like a mistake from across the room. The second problem is more subtle: when a printer receives a file at trim size with no extra artwork, the only fixes are to enlarge the design slightly, which pushes text toward the edge, or to mirror and stretch the edge pixels, which rarely looks right on photos.
A design with a plain white background and nothing touching the edge does not strictly need bleed, because the paper is already white. Most printers still want the file at the full template size so it drops into their layout without scaling. Keep the page at trim plus bleed and leave the extra area white.
How do you add bleed to a design file?
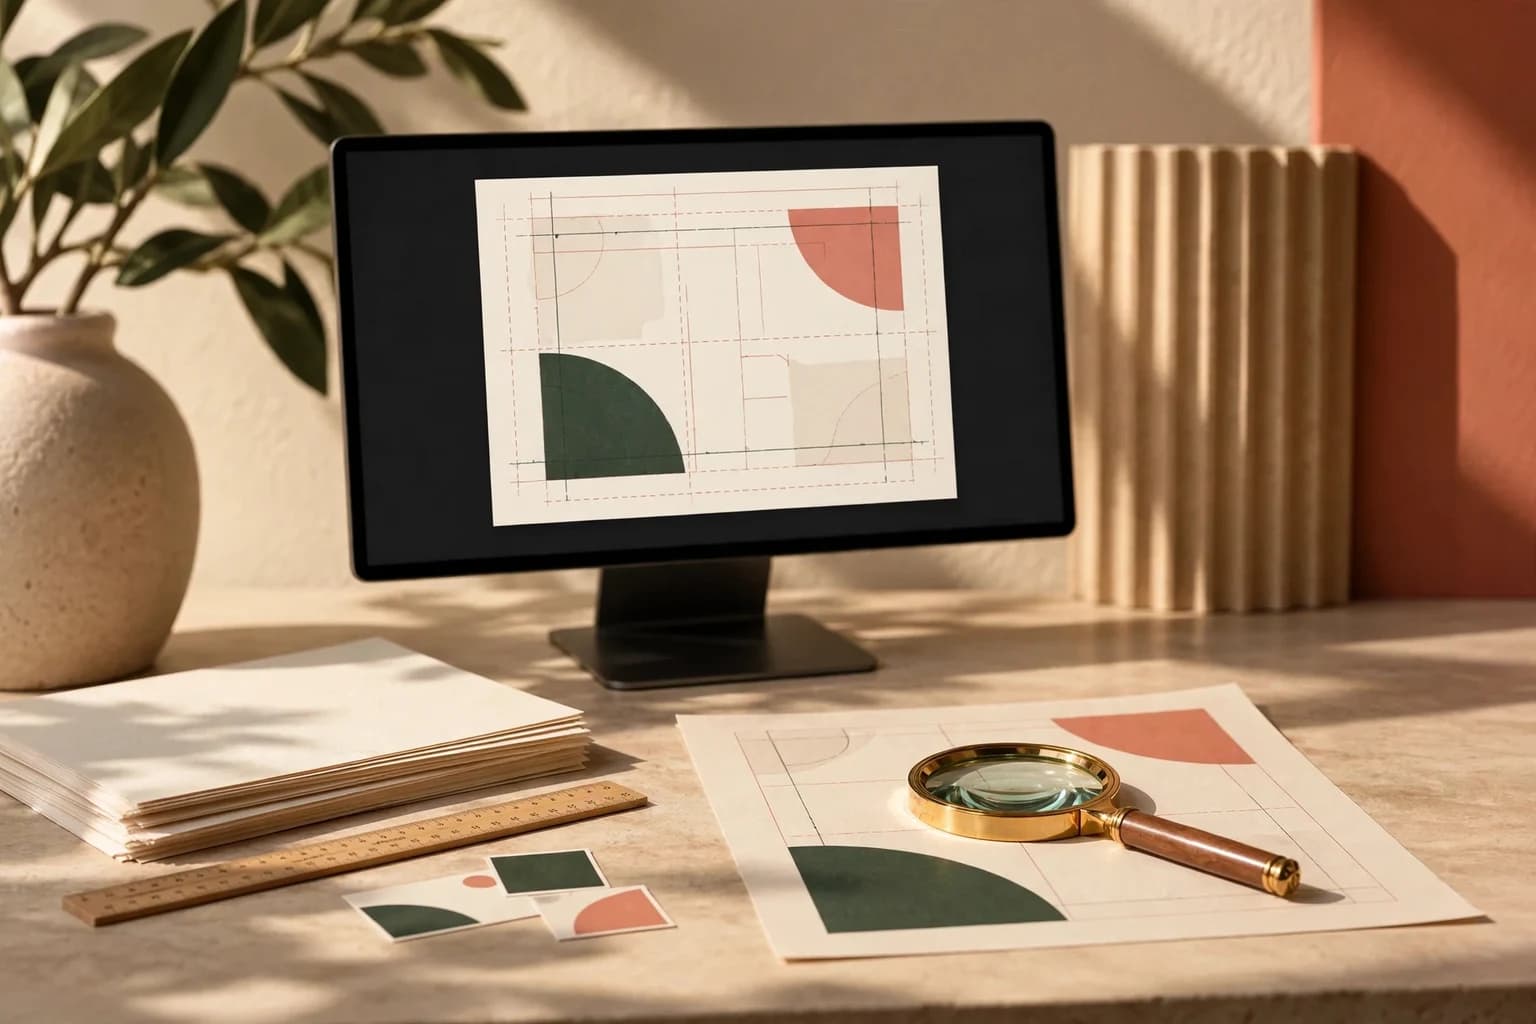
Set the document to the trim size first, then add the bleed in the document setup rather than by enlarging the page. Most layout applications draw a bleed guide outside the page edge once you enter 0.125 inch. Stretch every background frame and photo to that outer guide, then pull text back inside the safe area guide.
When you export, choose a press quality or PDF/X preset and turn on the option to include document bleed. Without that setting the PDF is cropped at the trim and the bleed you built disappears. Add crop marks only when your printer asks for them, because many upload systems expect the page to be exactly trim plus bleed. A bleed calculator helps when you need the full document size for a custom format.
Where should the safe area sit on small pieces?
On a business card, 0.125 inch inside the trim is the usual minimum, but a little more room reads better. Borders are the risky element. A thin frame drawn close to the trim shows any cutting shift as an uneven margin, so either keep borders well inside the safe area or drop them. The same caution applies to rules thinner than 0.5 point, which GPO warns can disappear at press resolution.
For a 4 x 6 postcard with a 0.125 inch safe margin, the live area for text measures 3.75 x 5.75 inches. Anything critical should sit inside that box on both sides of the card.
Do rounded corners and QR codes change the safe area?
Rounded corners remove material that a rectangular safe area does not describe well, so review the actual curve against any content near a corner. A QR code also needs its own quiet zone of clear space, and the card's safe area does not replace it. Keep both requirements satisfied and test the code at its printed size.
What is a bleed checklist before you upload?
- Confirm the document is set to the trim size of the product you are ordering.
- Add 0.125 inch of bleed on all four sides, or the allowance in the product template.
- Extend every background, photo and color block to the bleed edge.
- Keep text, logos and codes inside the safe area.
- Export with the include bleed option enabled and check the PDF page size.
- Repeat every check on the back side, since backs need bleed too.
If your project is a large full color flyers run or a stack of postcards, open the exported PDF, zoom to each corner and confirm color reaches the outer edge before you approve the proof.
Is bleed the same for digital and offset printing?
The idea is the same for both processes, because both finish pieces by cutting from a larger sheet. The allowance can vary. Some digital presses and online services work with a slightly smaller bleed on specific products, and some large format and wrapped products need a much larger allowance, especially canvas that wraps around a frame. When a printer supplies a template, follow its numbers exactly rather than applying a single rule across every product.
Frequently asked questions
What is the standard bleed size for printing?
The common standard in the United States is 0.125 inch, or 1/8 inch, on every side, which is about 3 mm. The U.S. Government Publishing Office recommends 1/8 inch as a general minimum for any bleed. Some products use a smaller or larger allowance, so the template for the exact item you order should always take priority.
How do I calculate a document size with bleed?
Add the bleed twice to the width and twice to the height of the trim size. With a 0.125 inch bleed, an 8.5 x 11 inch flyer becomes 8.75 x 11.25 inches and a 3.5 x 2 inch business card becomes 3.75 x 2.25 inches. Multiply by 300 to get the pixel size for a photo that fills the whole file.
Do I need bleed if my design has a white background?
If nothing in the design touches the edge, bleed has nothing to protect, because the paper itself is white. Most printers still ask for the file at the full template size so it fits their layout without scaling. Keep the page at trim plus bleed, leave that extra area white and keep every word inside the safe area.
Should my PDF include crop marks?
Only when the printer asks for them. Many online upload systems expect the page to measure exactly the trim size plus bleed and place the file automatically, so extra marks can shift or shrink the artwork. When a commercial printer does request marks, they sit outside the bleed area and should be offset so they never touch the artwork.
Sources & specification notes
The references below support the relevant technical or product details in this guide. Examples and checklists are not claims of practical testing or universal supplier requirements. Confirm the current specifications for your chosen product before production.
- U.S. Government Publishing Office: GPO Publishing Guidelines ↗
Asks for bleed on every file that images off the final page with 1/8 inch as a general minimum, 300 ppi scans at a one to one output size, no rules thinner than 0.5 point and PDF files with embedded fonts.
- Adobe: What is a PDF/X file and how to use it ↗
Describes PDF/X as a standard for exchanging print files: its strictest variant requires embedded fonts and CMYK or spot color, while later variants allow RGB, Lab and ICC based color and support live transparency.