What is the difference between bleed, trim and safe area?
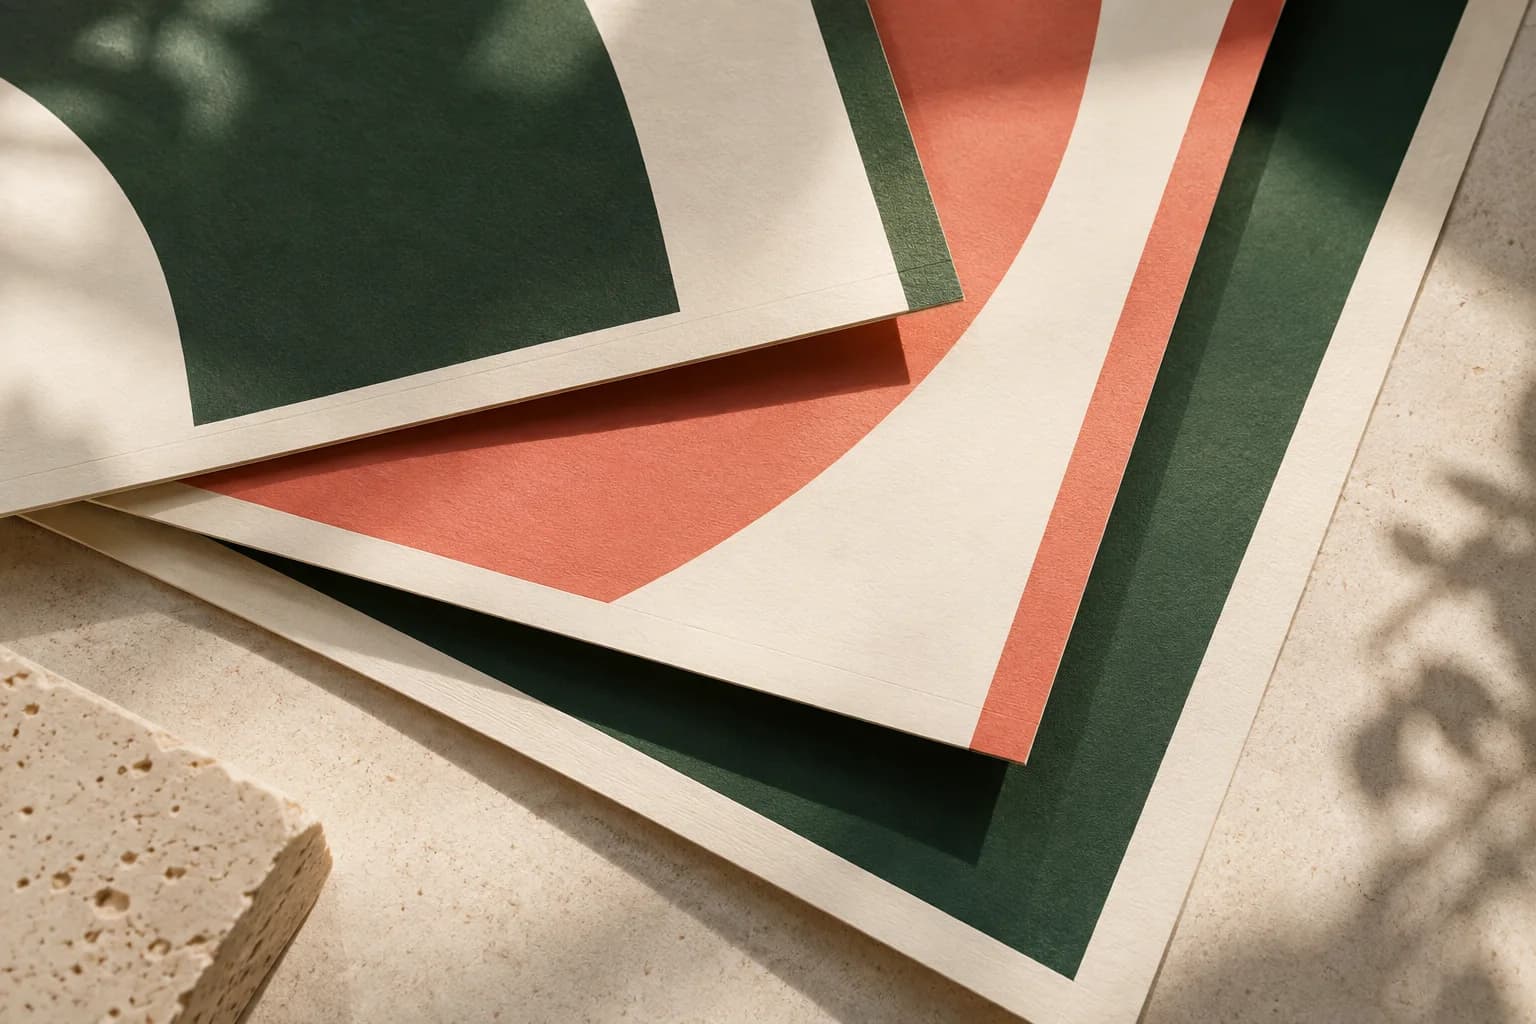
Every poster file has three boundaries. The trim is the finished size, the line where the sheet is cut. The bleed is the strip of artwork beyond the trim that is cut away, there so any small shift in cutting still lands on printed color. The safe area is an inset inside the trim that holds text, logos and anything that must be read. Background colors and edge to edge photos cross all three lines; words stay inside the innermost one. For the principle across every product, see bleed printing explained.
How much bleed does a poster need?
The U.S. Government Publishing Office advises allowing 1/8 inch minimum for any bleed, and 0.125 inch is the most common poster allowance. Studio's poster planning profile uses 0.125 inch of bleed and a 0.25 inch safe inset, a proposed geometry that you confirm against the production template for your chosen size and material before export. Some large format workflows ask for more bleed, especially for mounted, wrapped or grommeted products, so always read the specification for the exact product rather than reusing a postcard or flyer setting.
What size should a poster file be with bleed?
Add twice the bleed to each dimension. The table uses 0.125 inch bleed and a 0.25 inch safe inset, with pixel dimensions at 300 PPI including bleed.
| Finished size | File with bleed | Safe area | Pixels at 300 PPI |
|---|---|---|---|
| 11 x 14 in | 11.25 x 14.25 in | 10.5 x 13.5 in | 3375 x 4275 |
| 12 x 18 in | 12.25 x 18.25 in | 11.5 x 17.5 in | 3675 x 5475 |
| 18 x 24 in | 18.25 x 24.25 in | 17.5 x 23.5 in | 5475 x 7275 |
| 24 x 36 in | 24.25 x 36.25 in | 23.5 x 35.5 in | 7275 x 10875 |
For any other size or allowance, the free bleed calculator returns the artwork size, safe area and pixel dimensions in one step.
How big should the safe area be on a poster?
A 0.25 inch inset from the trim is a sensible minimum on a poster, larger than the 0.125 inch common on postcards, because large sheets are handled, rolled and mounted in ways small cards are not. Treat it as the floor, not the target. Headlines usually look better with generous margins, and small text right at the safe line looks cramped even when it is technically safe. Avoid thin borders close to the trim; on a large poster, a border that is a fraction of an inch wider on one side is easy to see.
How do frames and rails change the safe area?
The printer's safe area protects content from the cut. A display can cover more. Snap frames hold the poster under a border that snaps open and shut, so part of the printed edge sits behind the frame profile. Hanging rails clamp the top and bottom edges. Tape, clips and wall mounts also hide edges. Measure the visible opening of the actual hardware, or ask the supplier for it, and use whichever inset is larger: the printer's safe area or the display's coverage.
If you plan to display in poster snap frames, keep text well clear of all four edges. For poster rails, which grip the top and bottom only, give the top and bottom margins extra room and treat the sides normally. The guide to mounting options compares tape, frames, rails and boards.
How do you extend a photo into the bleed?
Carry the photo all the way to the bleed edge using real image content, not a white or blurred fill. That means choosing the crop with the bleed in mind: the image has to cover the full file size, 18.25 x 24.25 inches on an 18 x 24 poster, not just the trim. If the subject's head or a product sits near the edge in the original, reposition the crop so it lands inside the safe area. Mirroring or stretching the last few pixels can work for a plain sky or wall, but it shows on detailed areas. For more on choosing the frame, see how to crop a poster photo.
Do posters need crop marks?
Only if the printer asks for them. Many online and digital workflows want a PDF at the full bleed size with no marks, because their software reads the trim from the file and adds its own marks. Others want marks placed outside the bleed. Adding marks when they are not expected can shrink the artwork or push it off center. Follow the upload instructions for the product.
How do you check bleed in the exported PDF?
Open the exported PDF and confirm the page size equals the trim plus bleed. In the PDF/X standards, the TrimBox defines the finished size and the BleedBox must sit outside it; a preflight tool in your PDF software can display both. Scroll each edge at 100 percent zoom for white gaps where a background stops short. Check that no text crosses the safe line and that guide layers did not export. Keep the template and the final PDF together, so the next reprint uses the same geometry.
What should a poster bleed checklist include?
- Document at the finished size, in the correct orientation.
- Bleed added on all four sides at the product's stated allowance.
- Backgrounds and photos extended with real image content.
- Text and logos inside a 0.25 inch safe area, or the display inset if larger.
- Crop marks only if the printer asks for them.
- Exported PDF checked for page size, TrimBox, BleedBox and edge gaps.
Frequently asked questions
How much bleed do I need for a poster?
Most poster templates use 0.125 inch of bleed on each side, which matches the U.S. Government Publishing Office guidance to allow 1/8 inch minimum. Some large format products that are mounted, wrapped or fitted with grommets ask for more. Always follow the specification for the exact product rather than reusing a setting from a postcard or flyer.
What size is an 18 x 24 poster with bleed?
With 0.125 inch bleed on every side, an 18 x 24 inch poster file measures 18.25 x 24.25 inches. At 300 pixels per inch that is 5,475 x 7,275 pixels, and at 150 pixels per inch about 2,738 x 3,638. Keep text inside a safe area of 17.5 x 23.5 inches, which is 0.25 inch inside the trim.
Do I need a safe area on a poster if it goes in a frame?
Yes, and often a larger one. A snap frame covers part of the printed edge on all four sides, and hanging rails clamp the top and bottom. Measure the visible opening of the hardware and keep text inside whichever is larger: the printer's safe area or the part of the poster the frame hides.
Should I add crop marks to my poster file?
Only when the printer asks for them. Many digital print workflows want a PDF at the full bleed size with no marks and add their own during production. Adding unexpected marks can shrink the artwork or push it off center. Check the upload instructions for your product before exporting.
Sources & specification notes
The references below support the relevant technical or product details in this guide. Examples and checklists are not claims of practical testing or universal supplier requirements. Confirm the current specifications for your chosen product before production.
- U.S. Government Publishing Office: GPO Publishing Guidelines ↗
Allow 1/8 inch minimum for any bleed; proofs imaged face and back and trimmed to finished size; 300 pixels per inch at a 1 to 1 output ratio.
- Library of Congress: PDF/X format family (ISO 15930) ↗
PDF/X requires embedded fonts, a defined TrimBox, a BleedBox outside the trim when bleed is used, and an output intent.