Why the bag width is not the print width
Four things eat into a panel before your artwork arrives.
The side seams. A seam is a step in the fabric that a press platen cannot flatten and a hoop cannot hold evenly. Stay at least an inch clear.
The gusset. A bag with depth is made from panels plus a side and bottom gusset, or from a folded panel. Either way the front face is narrower than the overall width, and artwork sized to the full width wraps around the corner.
The handle attachment. Handles are stitched or riveted to the top of the panel, often with a reinforcing bar tack. The top two to three inches are usually unusable.
The bottom fold. The lowest inch or two sits against whatever is inside the bag and creases permanently.
| Bag feature | What it costs you | Clearance to plan |
|---|---|---|
| Side seam | A step the press cannot flatten | 1 in |
| Gusset corner | Artwork wraps out of sight | 1 in from the fold |
| Handle attachment | Reinforced, uneven top edge | 2 to 3 in from the top |
| Bottom fold | Permanent crease | 1 to 2 in from the base |
| Front pocket seam | A hard edge across the panel | 1 in above it |
| Zip | Hardware the platen cannot cross | Keep off entirely |
What the catalogue actually states
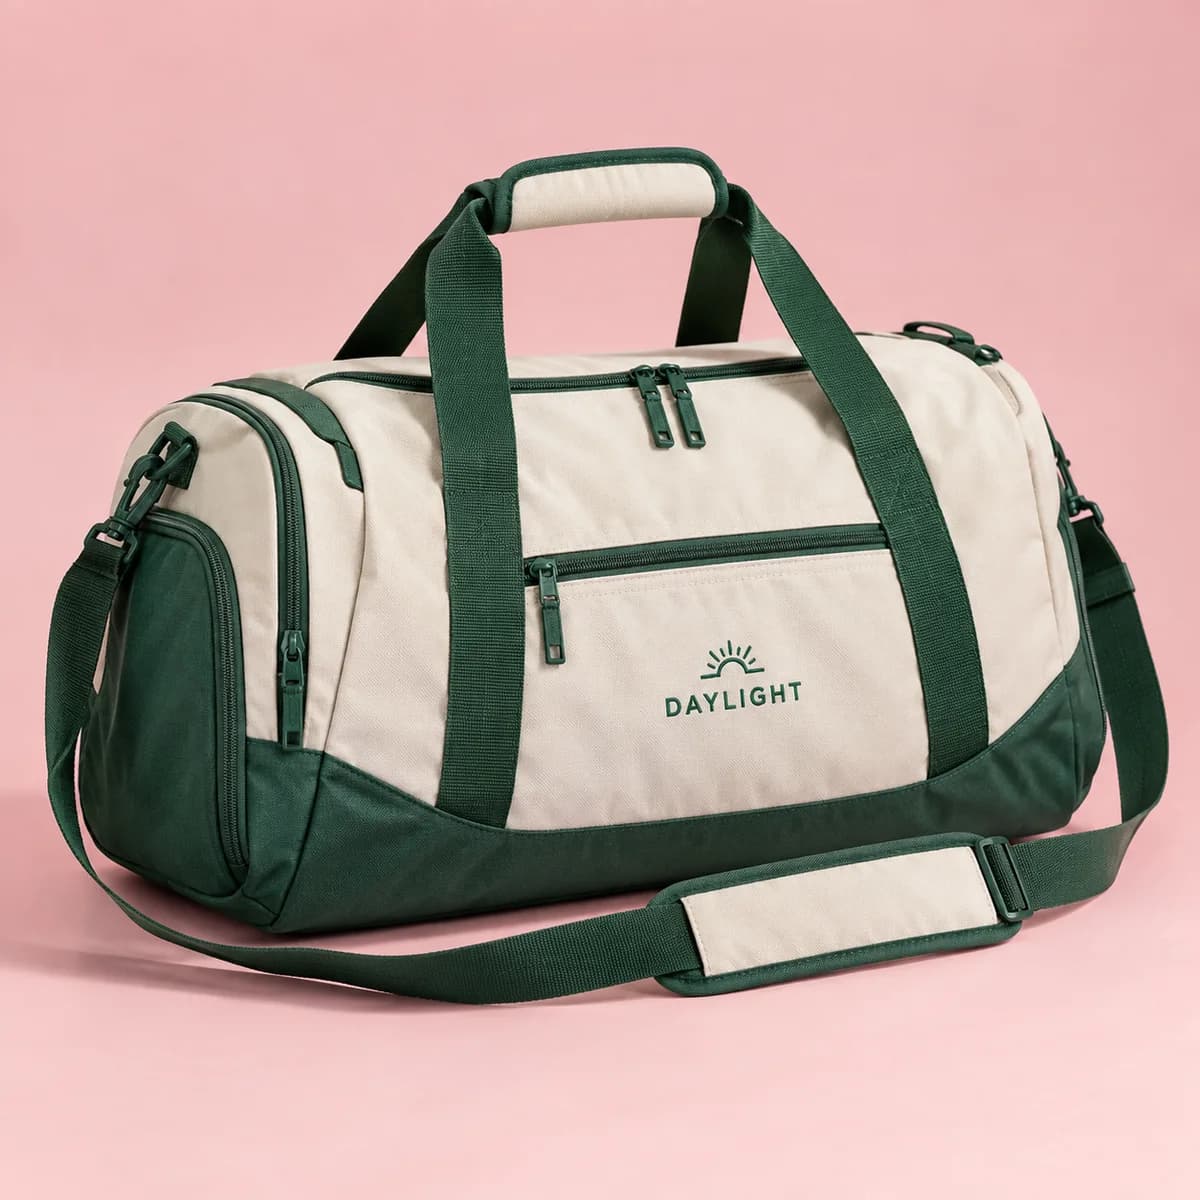
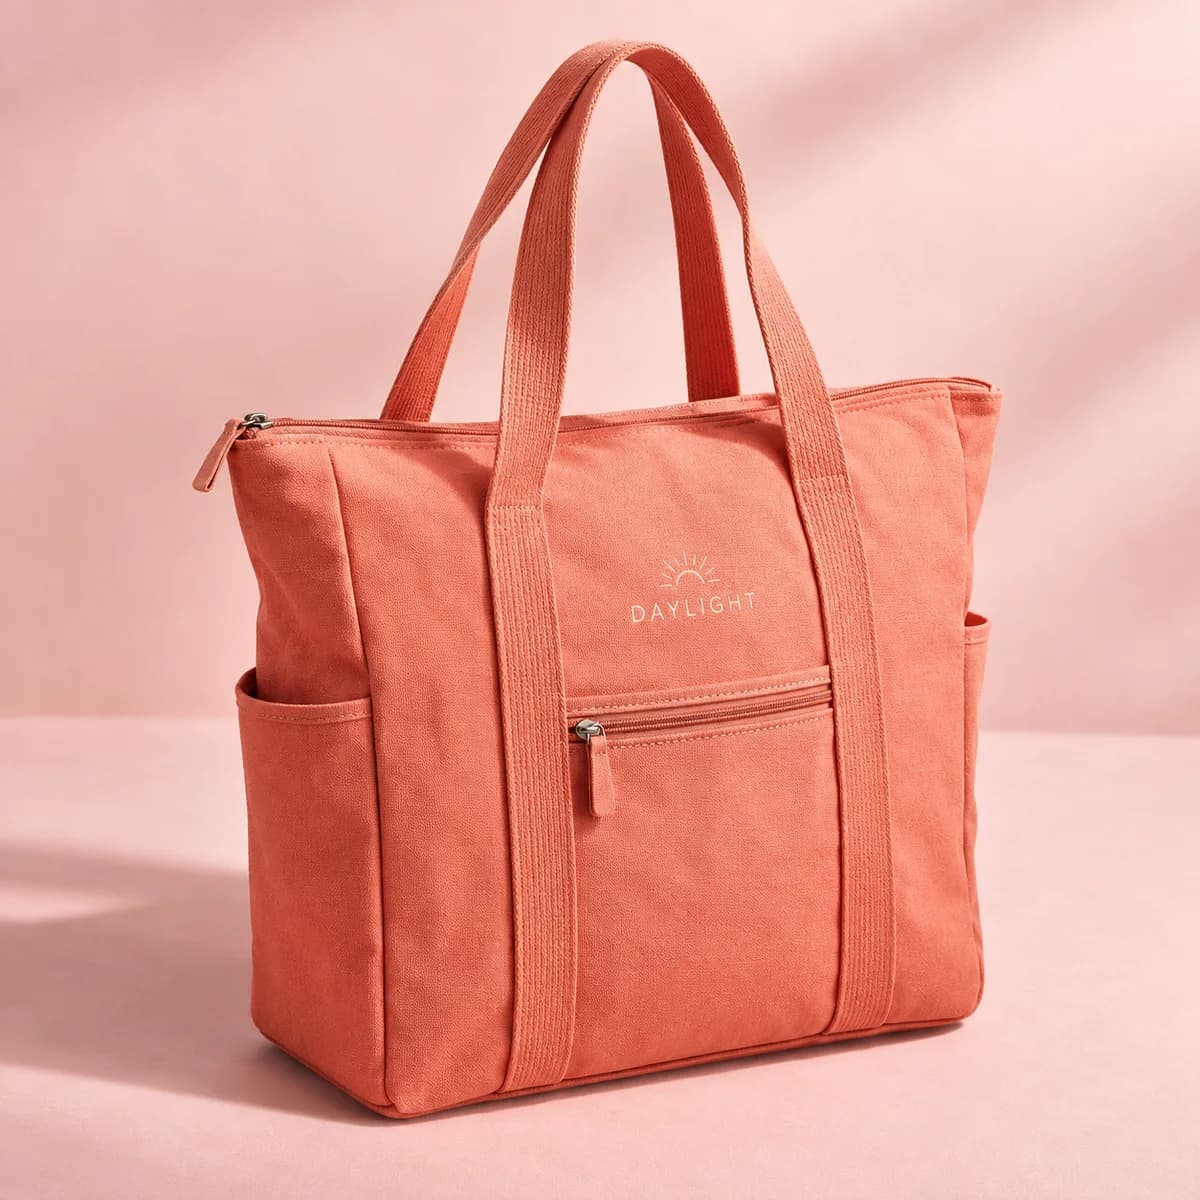
Where a print area or method exists, the product says so. Tote bags state that your design is printed on both sides. Drawstring bags take heat transfer or direct to garment and are made in White or Black. Messenger bags and briefcases take embroidery or heat transfer and are made in Black only. To go bags take single color logo printing on the front, or come blank.
For the rest, there is no published artwork template, and the site is explicit rather than implying one. The decoration template for that product is sent to you before production, and the placement and decoration method are confirmed with you after you order. The category advice says the same thing in plainer words: decoration areas are specific to each model, and a logo concept does not confirm pocket, seam or fabric compatibility.
That is the sentence to hold onto. A mockup showing a logo across a backpack is a picture, not a specification.
Designing for a bag with pockets
Pockets are the most common surprise. A bag can look like a clean canvas in a product photo and have a zip, a slip pocket or a mesh panel exactly where your logo was going.
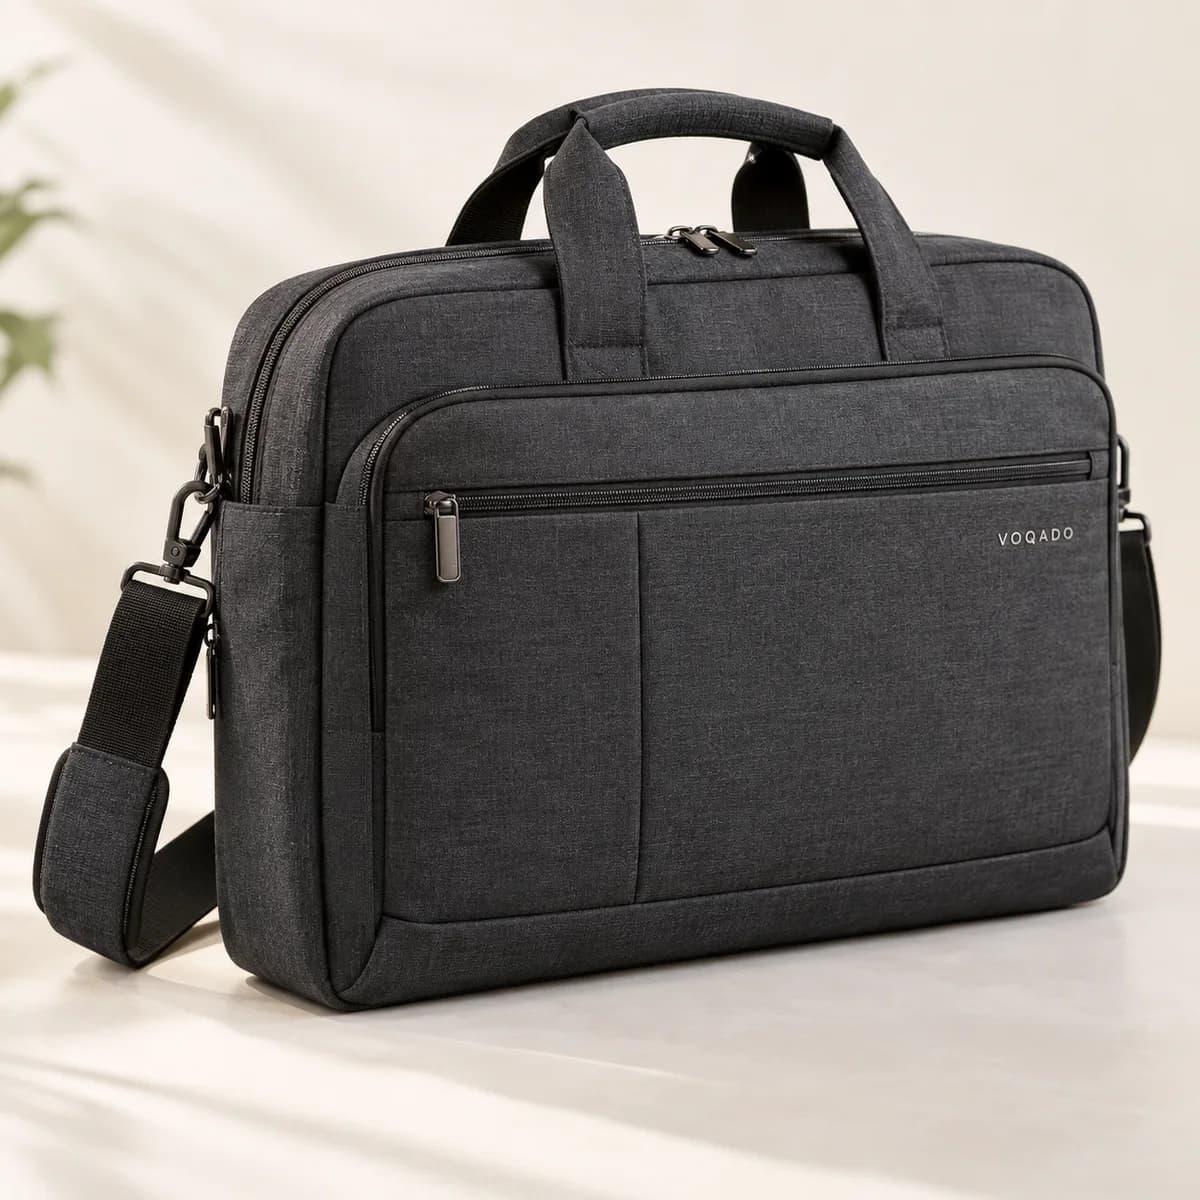
The bags in this range are honest about their pockets, and it is worth reading them as decoration constraints. Cooler bags have a large front pocket, a back panel mesh pocket and an inside top snack pocket. Laptop bags have a front zippered pocket and dual side pouches. Backpacks are a triple compartment design with a padded laptop compartment, a padded tablet pocket and a chest strap. Travel and gym bags have a front slash pocket. Waist packs have two compartments plus a front pocket.
On a bag like that, the decoration usually goes on the pocket face itself or on a clear band above it, and the mark gets smaller than you hoped. Plan a compact version of your logo alongside the full one.
How lining changes things
Decoration needs access to one layer of fabric. A lined or insulated panel has more than one, and they are usually stitched together at the edges.
Cooler bags are the clearest example: a 420D polyester exterior over a PEVA interior with 12 mm of foam insulation. That construction is excellent at keeping 24 cans cold and awkward to decorate, because the foam compresses unevenly under a platen and the layers cannot be separated for a hoop.
Structured bags have the same issue in a different form. Messenger bags and briefcases are recycled PU leather with RPET, with waterproof zippers and interior pockets. They take embroidery or heat transfer, but the area available is the flat face between the seams and the closure, not the whole front.
Practical sizes to plan around
These are planning figures for laying out artwork before you receive a template, not product specifications.
- Cotton tote front panel: a mark 8 to 10 in wide sits comfortably inside the seams.
- Drawstring bag front: 8 to 10 in wide, kept well above the drawstring channel.
- Laptop bag or briefcase front face: 4 to 7 in wide, above or beside the zip.
- Messenger bag flap: 4 to 6 in wide, centered.
- Waist pack front: 3 to 4 in wide, one line of text at most.
- Cooler bag front pocket: 4 to 6 in wide.
Notice how quickly this shrinks. A full wordmark plus a strapline that works at 10 in on a tote becomes a mark and no strapline at 4 in on a waist pack.
Build the artwork for the panel
Three habits prevent most rework.
Build the file at the printed size, on an artboard the size of the mark rather than the shape of the bag. Send print ready artwork at the largest size you want it printed, which is the instruction attached to every product without a published template.
Make a small version and a large version of your mark. The small one drops the strapline and thickens the strokes. You will need it on at least one bag in any multi item order.
And avoid straight edged full bleed rectangles. A straight edge makes every millimeter of panel distortion visible, and bags distort.
Bag print area checklist
- Design to the flat part of one panel, not to the bag width.
- Keep 1 in clear of seams and gusset folds, and 2 to 3 in clear of the handle attachment.
- Read the pocket list in the product specification as a decoration constraint.
- Expect insulated and lined panels to limit the method as well as the area.
- Prepare a compact version of your mark without the strapline.
- Confirm the real area against the decoration template before production.
Frequently asked questions
How big can a print be on a tote bag?
As a planning figure, a mark 8 to 10 inches wide sits comfortably inside the seams of a 13.4 inch wide cotton tote. The exact area comes from the product's decoration template, which is confirmed before production. Keep an inch clear of the side seams and gusset folds and two to three inches clear of the handle attachment.
Can you print over a seam or a zip?
No. A seam is a step the press platen cannot flatten and a hoop cannot hold evenly, and a zip is hardware the platen cannot cross at all. Plan artwork that sits entirely on a flat face. If your design must span a seam, it needs redesigning rather than a different machine.
Where does a logo go on a bag with a front pocket?
Usually on the pocket face itself, or on a clear band above the pocket seam. Either way the available area is smaller than the panel suggests, so prepare a compact version of your mark. Read the pocket list in the product specification before you design, because it tells you exactly what is in the way.
Why are insulated bags harder to decorate?
Because the panel is more than one layer. The cooler bag here is a 420D polyester exterior over a PEVA interior with 12 mm of foam insulation. Foam compresses unevenly under a platen and the layers cannot be separated for a hoop, so both the area and the method available are narrower than on a single layer panel.
Sources & specification notes
The references below support the relevant technical or product details in this guide. Examples and checklists are not claims of practical testing or universal supplier requirements. Confirm the current specifications for your chosen product before production.
- ASTM D5034: Standard Test Method for Breaking Strength and Elongation of Textile Fabrics (Grab Test) ↗
Supports the point that fabric behaviour under load is measured on a specimen gripped only at its centre, which is why seams and multi layer panels do not behave like a flat single layer.
- ASTM D3776/D3776M: Standard Test Methods for Mass Per Unit Area (Weight) of Fabric ↗
Supports the statement that fabric weight is measured on a defined specimen, which is why panel construction and layering have to be specified rather than inferred from a product photograph.